Making your own palm thimble is incredibly easy and inexpensive. Follow these 6 steps to craft your own sashiko thimble | Tutorial
Making your own palm thimble is incredibly easy and inexpensive.
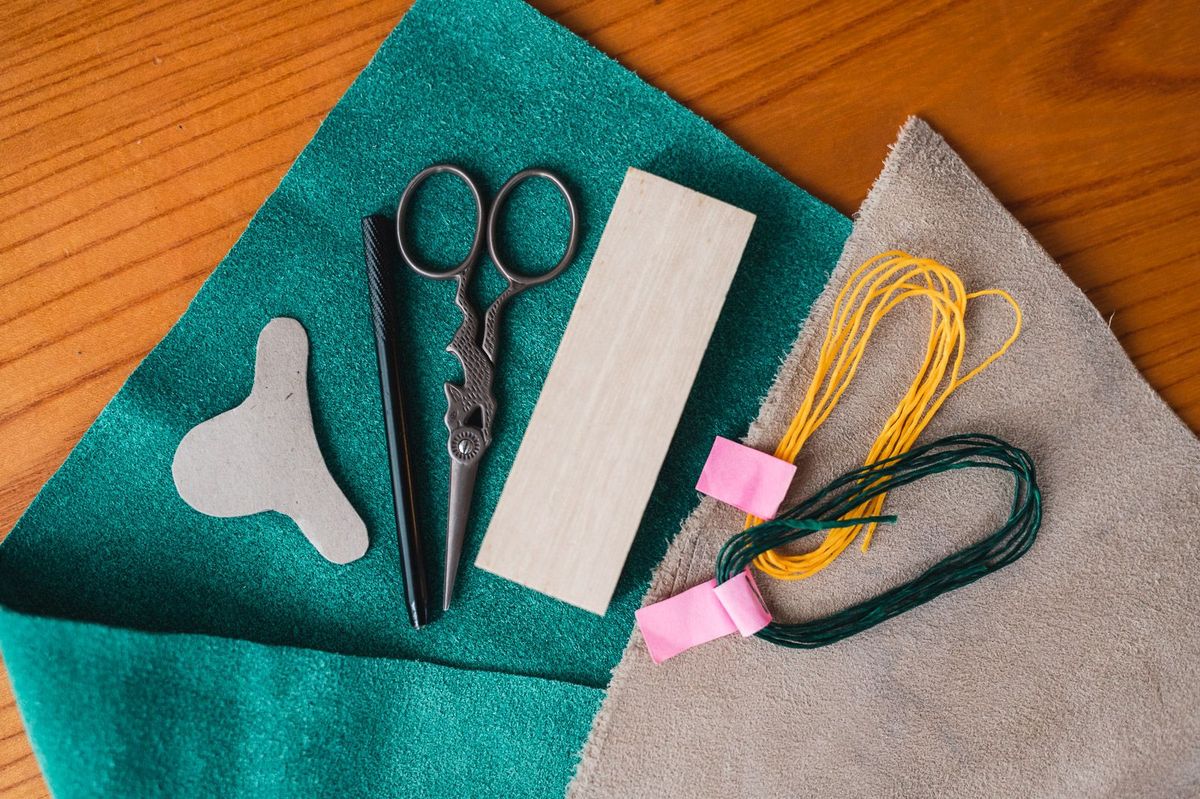
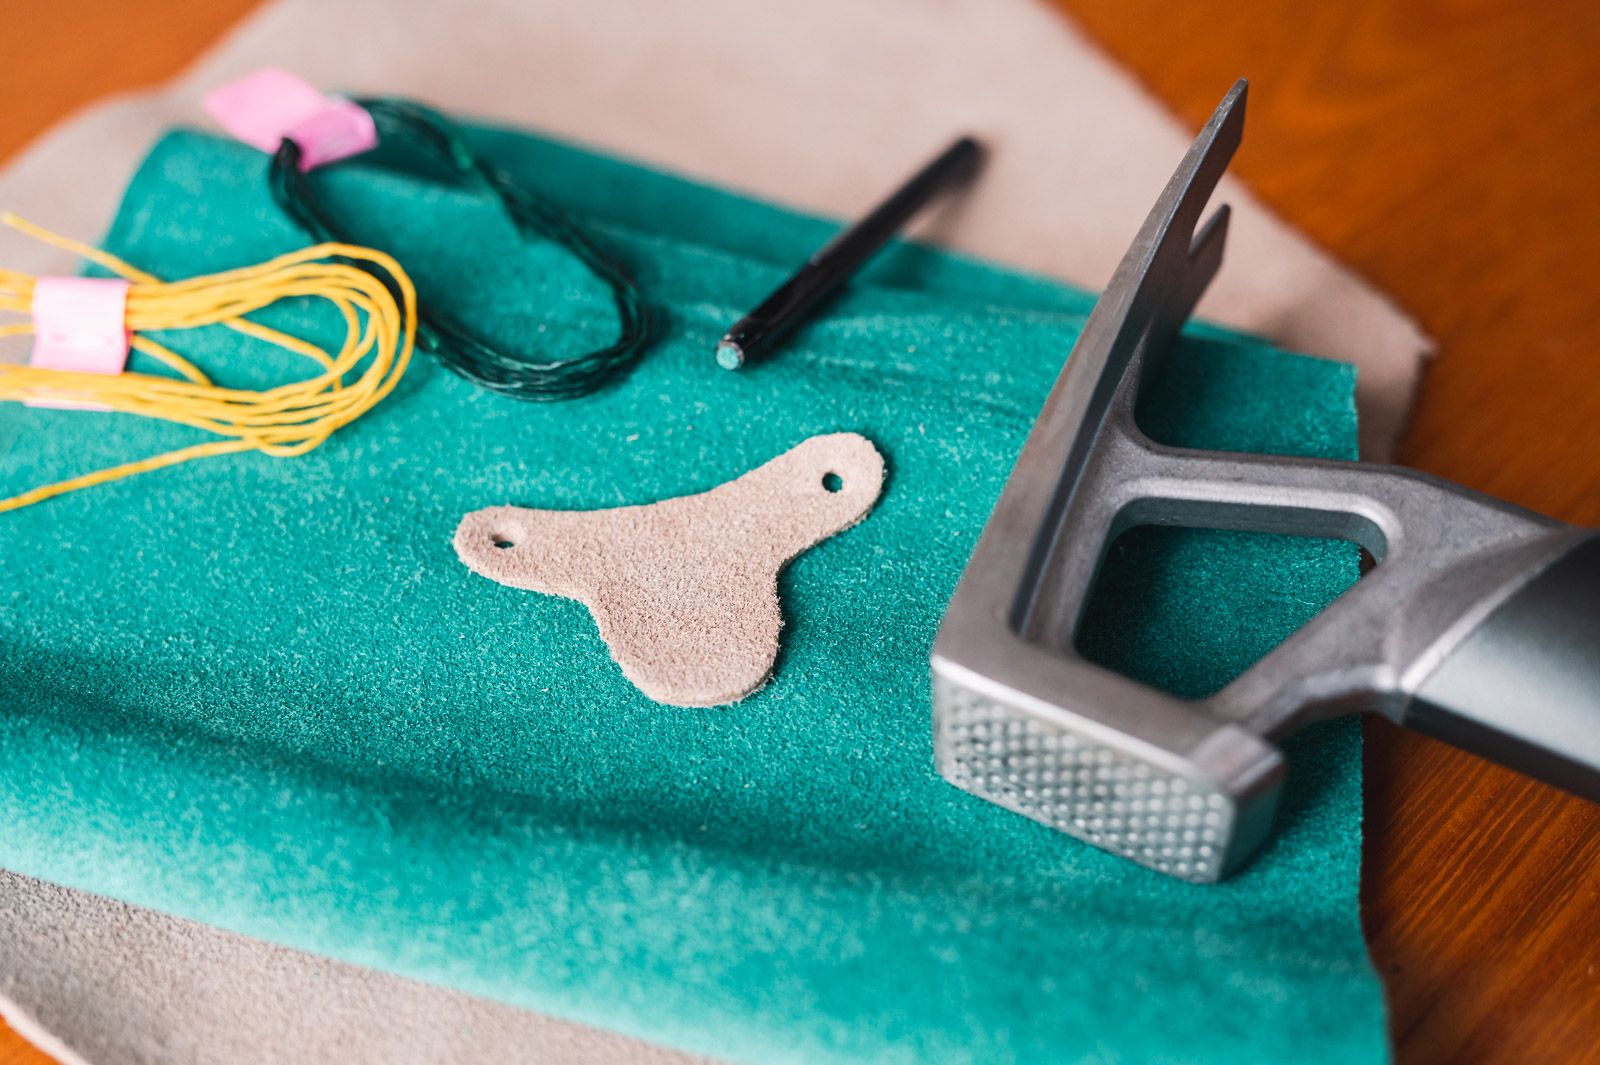
You need:
- a piece of leather that is not too thin, 4cm x 6cm
leather scraps from old shoes work great! - the template
- scissors
- something to open holes with
- a piece of string
- 15 minutes of your precious time
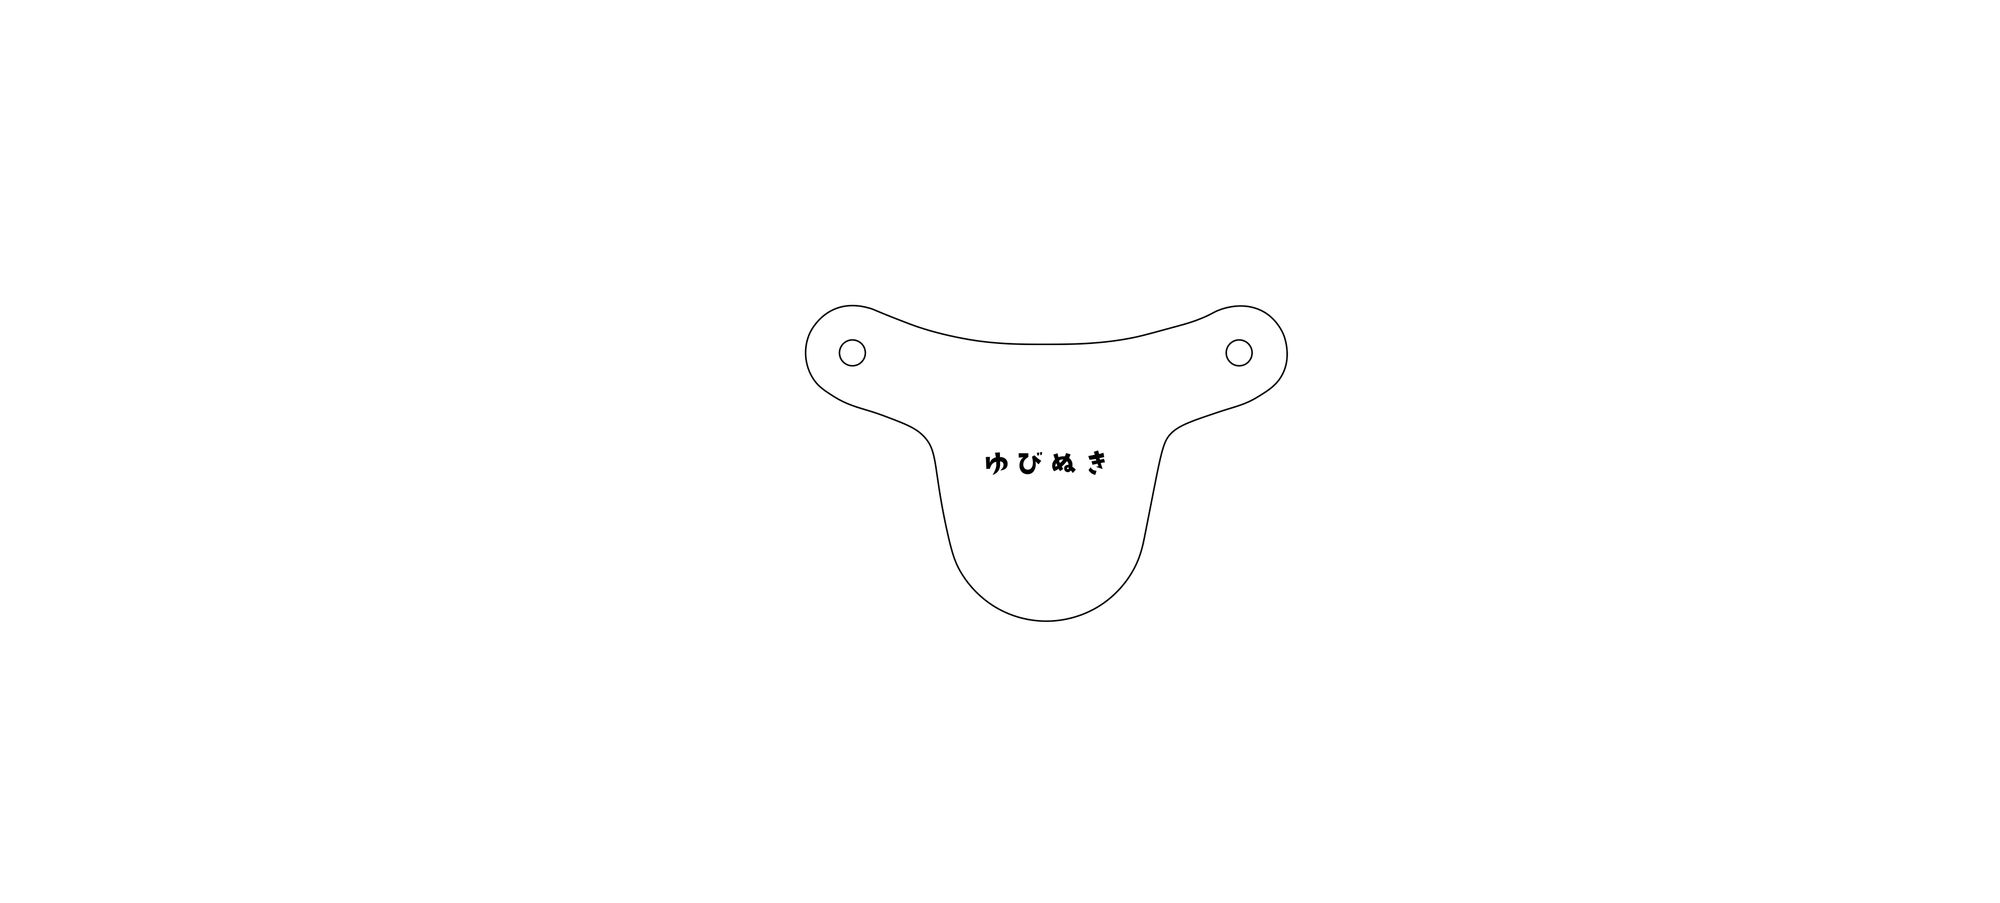
Template:
The template's size is A6. You can print it on paper that is a different size, but make sure to keep the scale at 100%. Otherwise, you'll end up with a very big or tiny thimble.
The dimensions of the template are roughly 4cm x 6cm or 1.5" x 2.3".
Instructions:
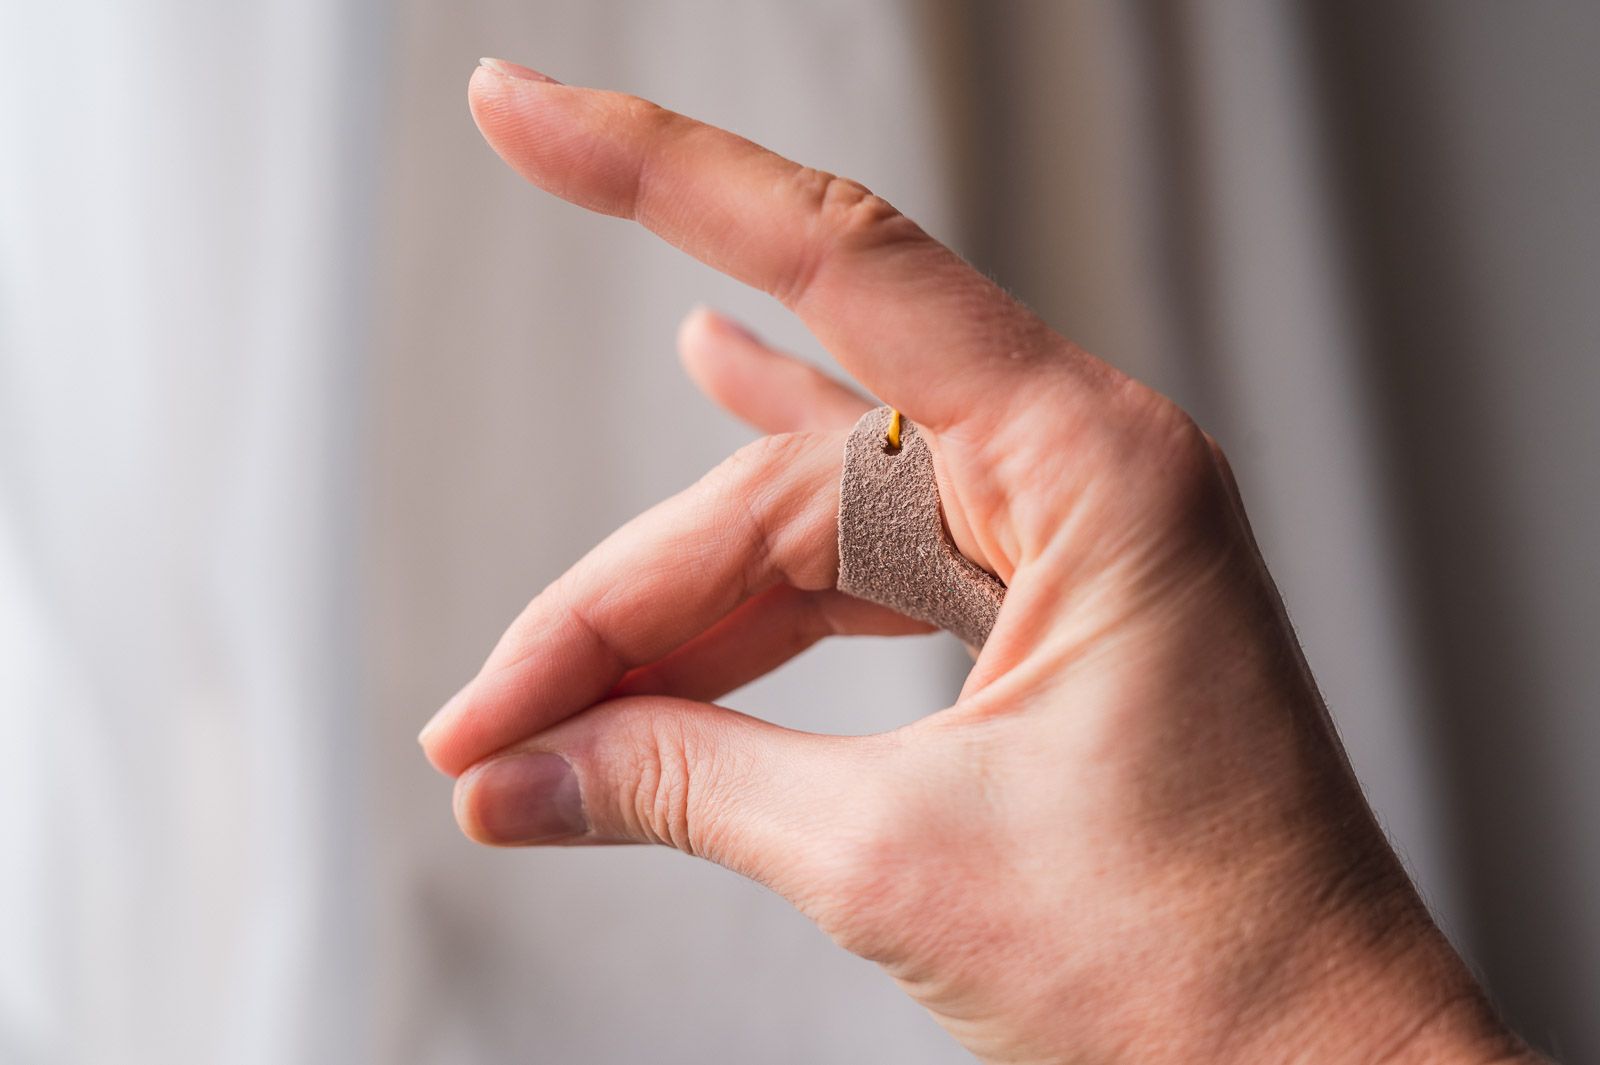
There are only 6 steps until you can put your finished sashiko thimble on your finger:
- Download and print the template
- Transfer your design onto a piece of leather
- Cut out your design
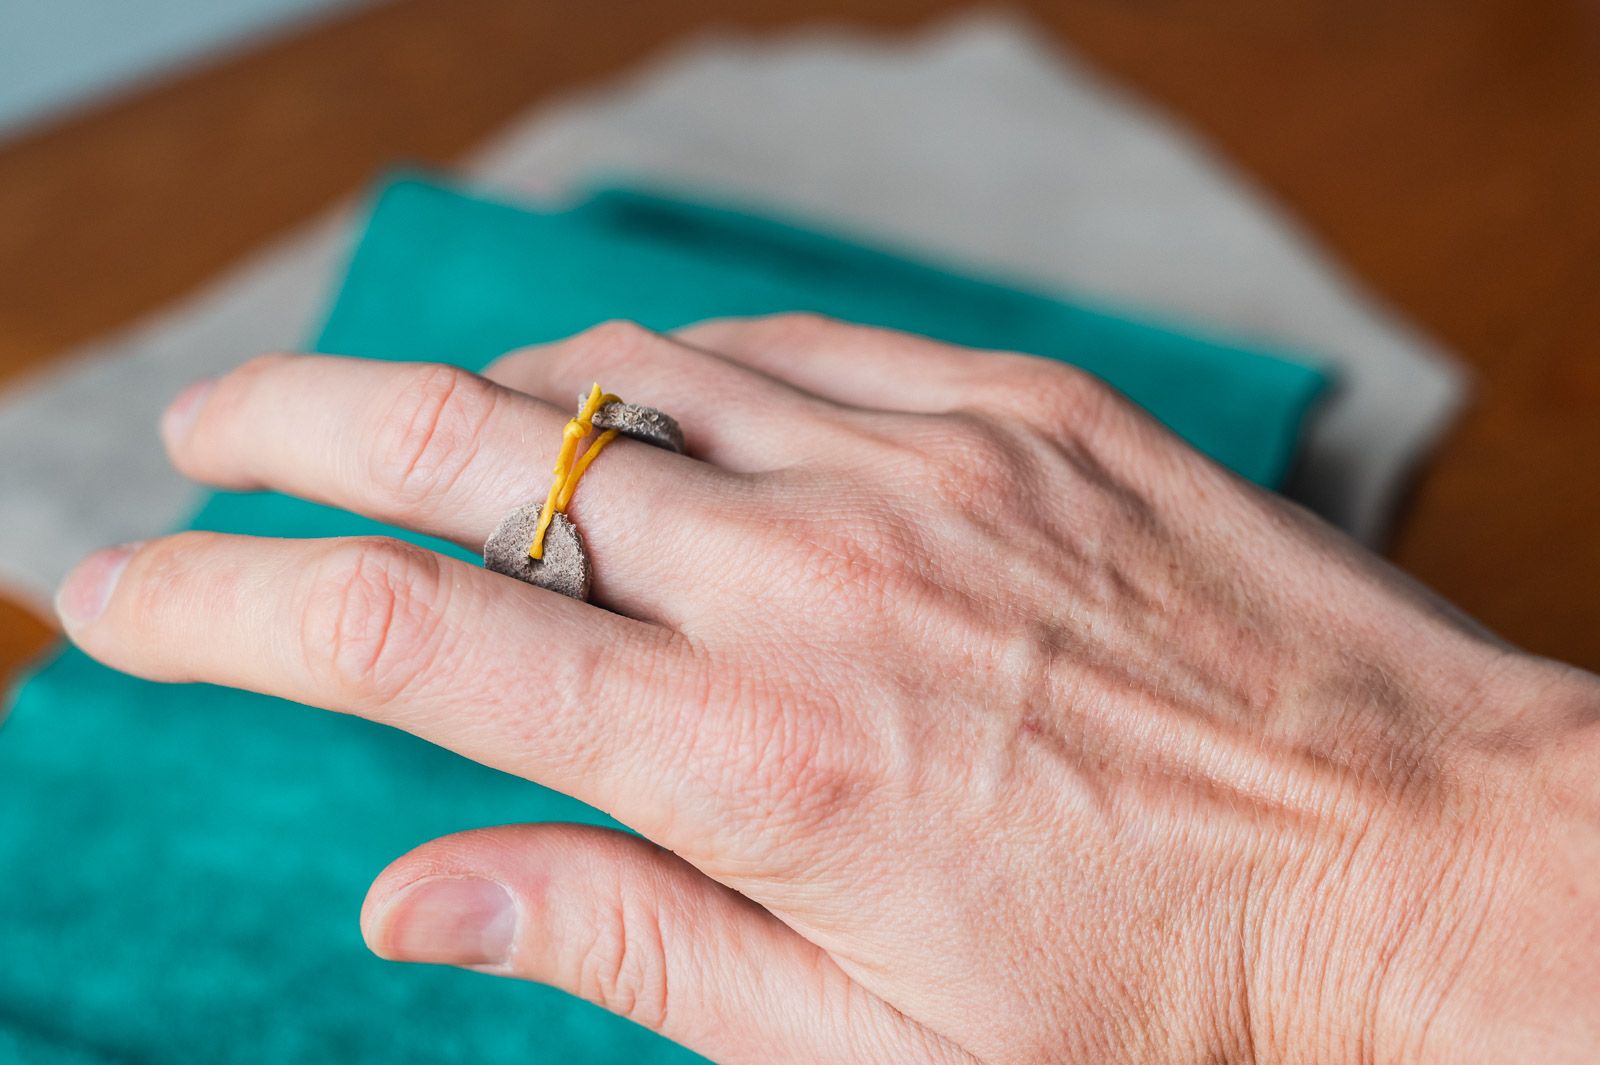
- Open up two holes
- Thread a piece of string or rubber band through the holes
- Tie a knot
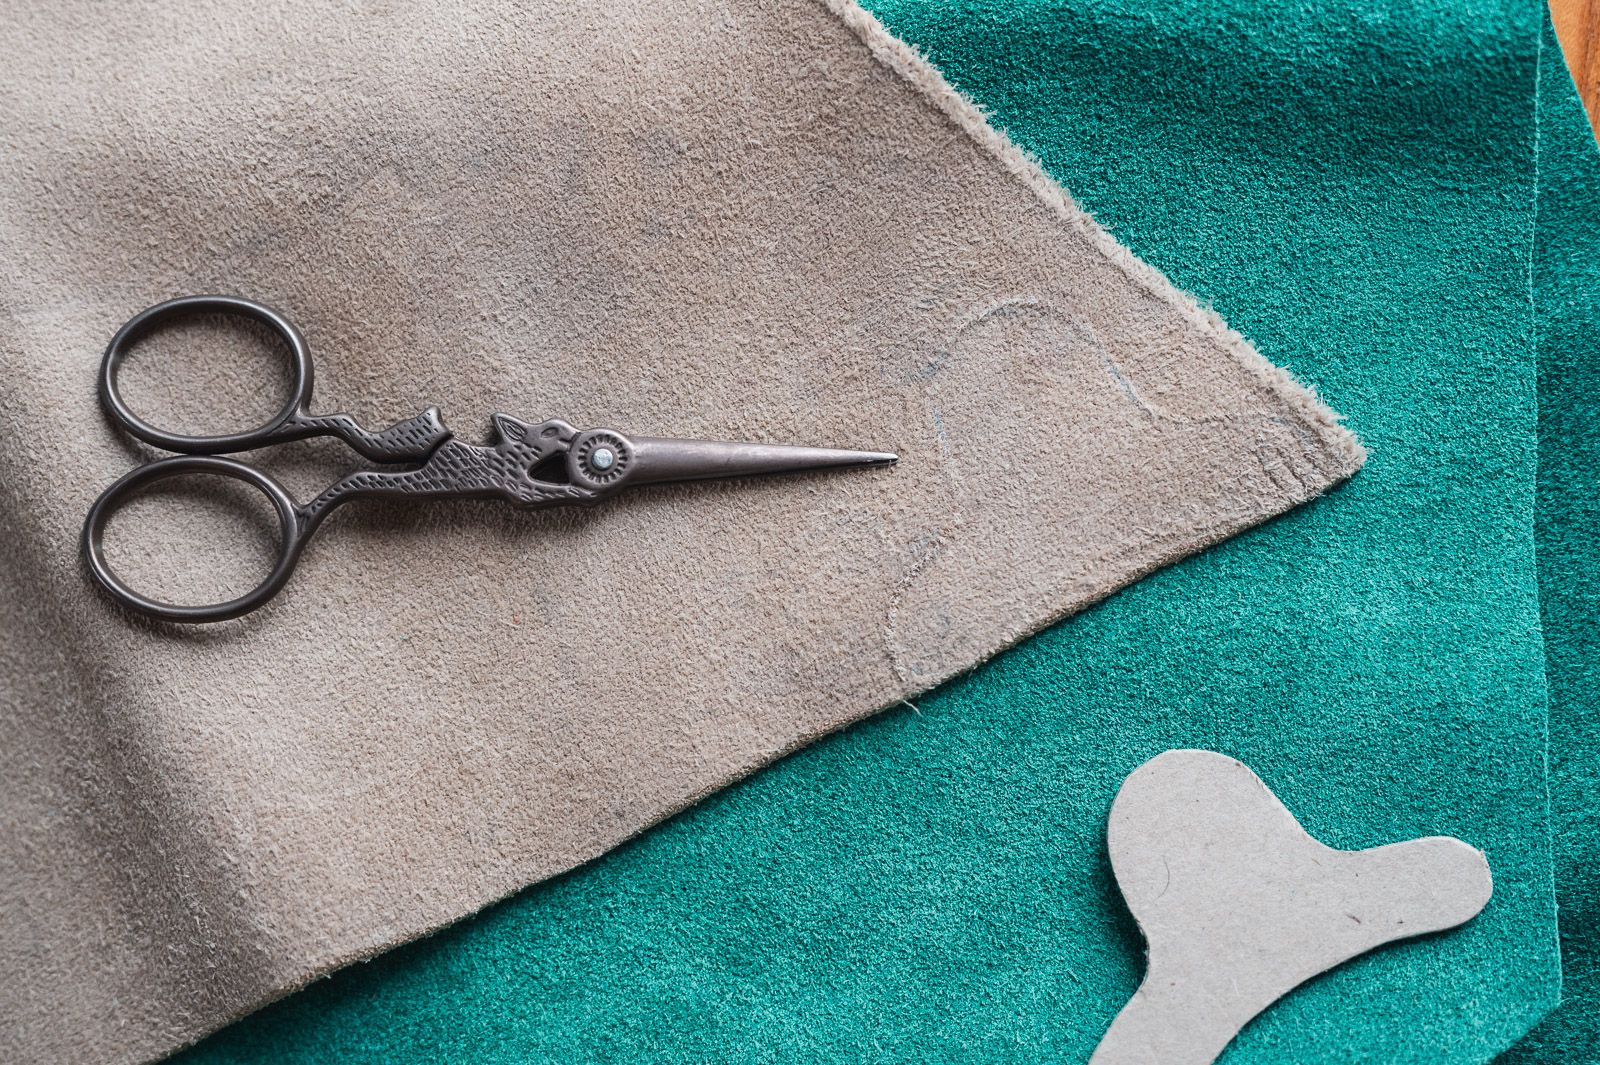
Download and print the template or simply transfer the design from your screen to paper with a pencil.
Zoom in or out so it matches the size mentioned above.
Transfer your design with a sharp tool or simply use a pencil to draw it onto your piece of leather.
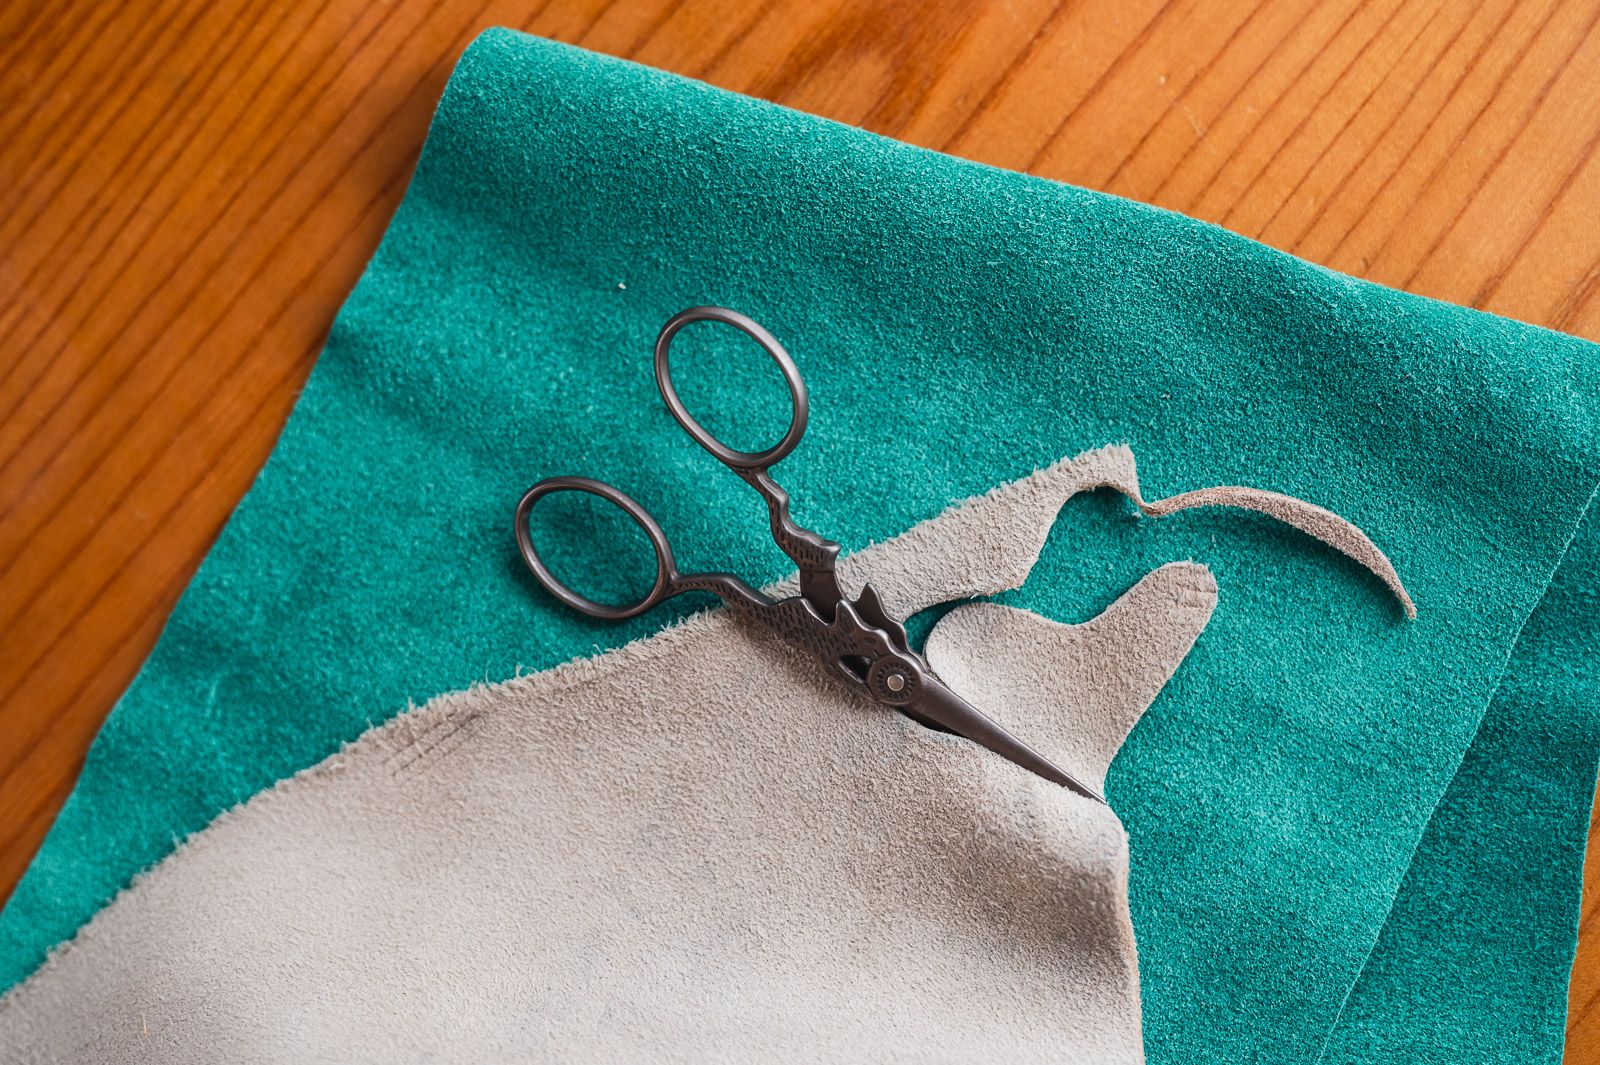
Carefully cut along the lines.
I happened to have a tool for opening holes at home. And a fancy hammer. But you can use any sharp tool to open up two holes. You can always use a needle to get your string or rubber band through if the holes are tiny. They don't have to be as big as the ones shown in the photo below.
Thread a piece of string through the holes and tie a knot. If you use a rubber band, the thimble will be easier to put on and take off.
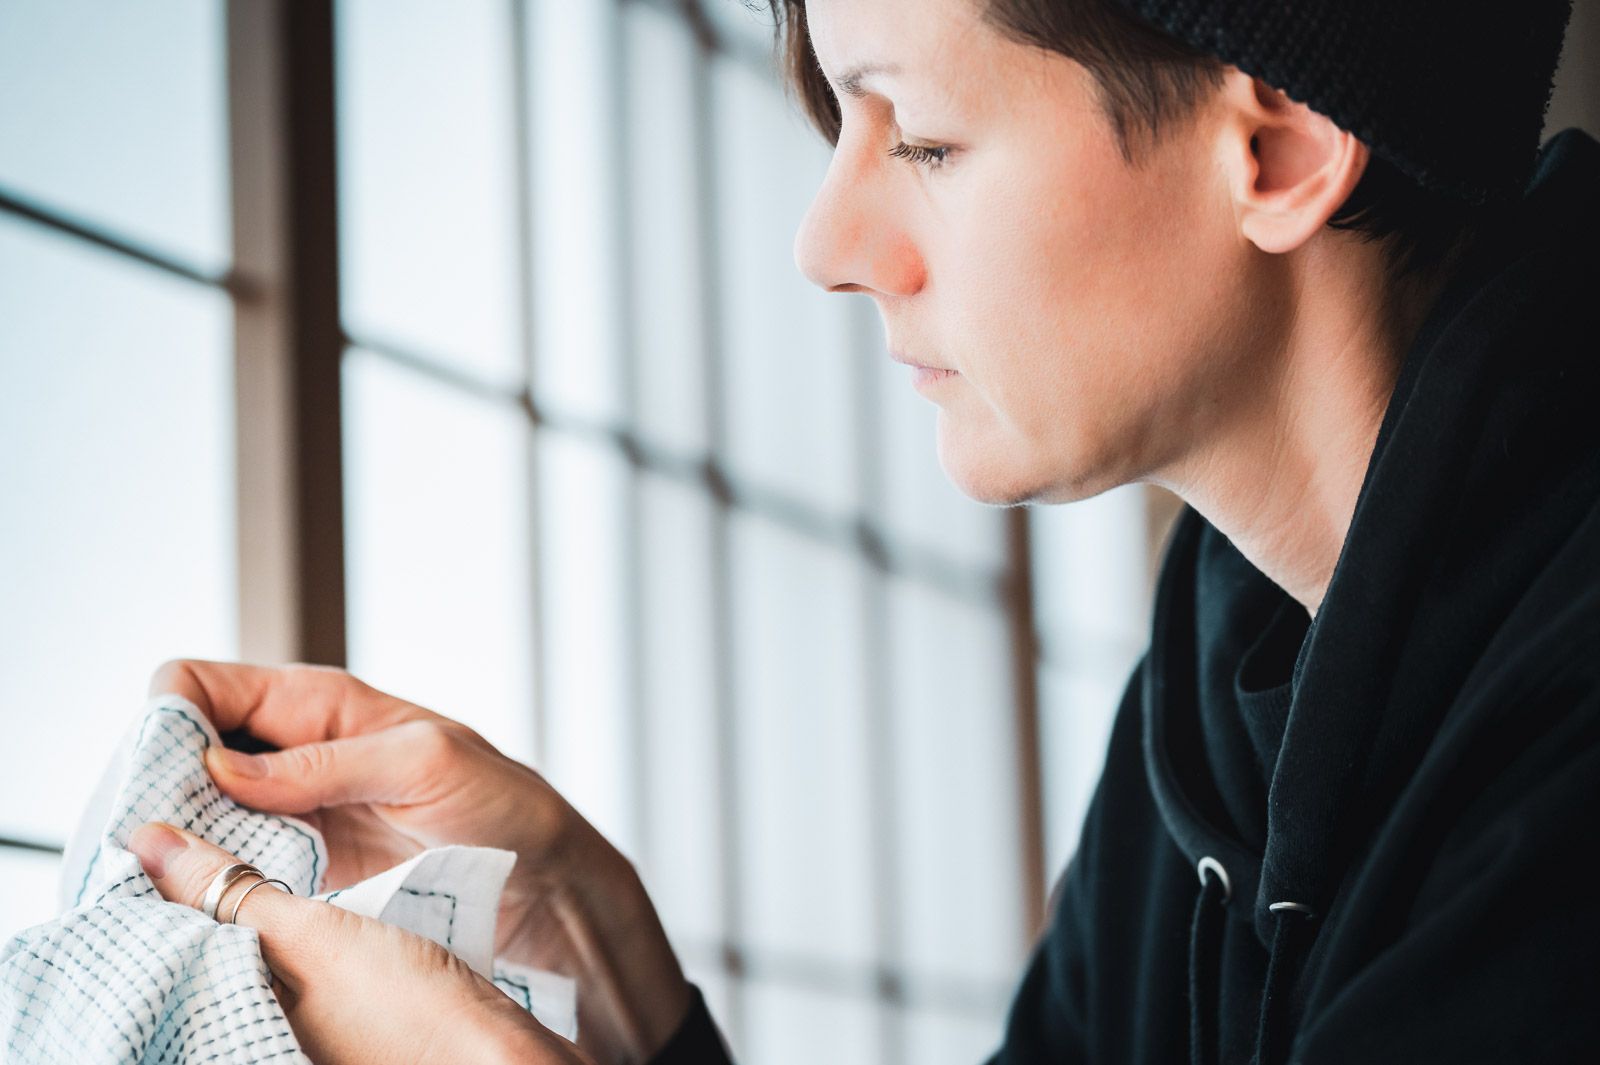
Why use a palm thimble?
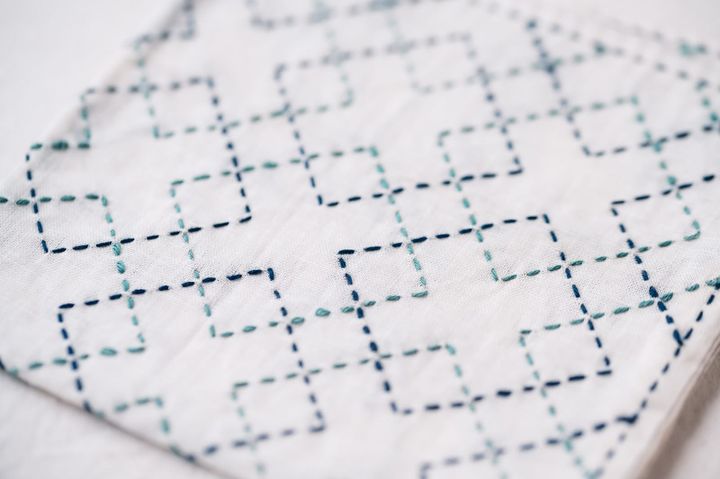
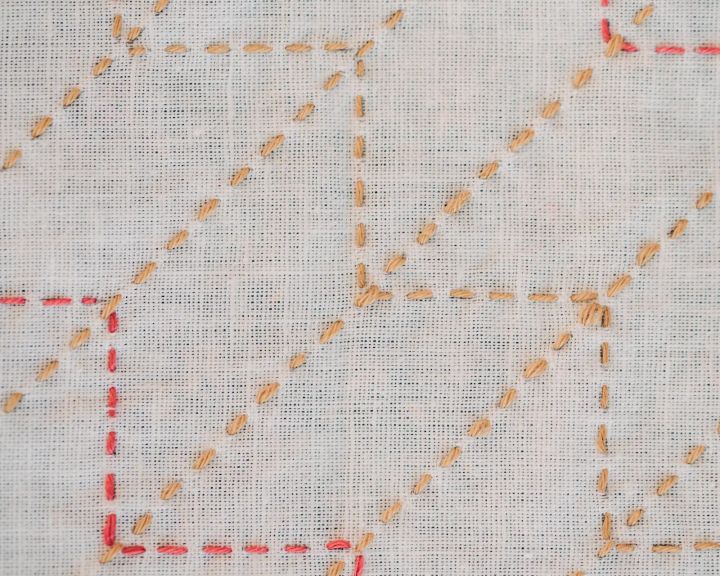
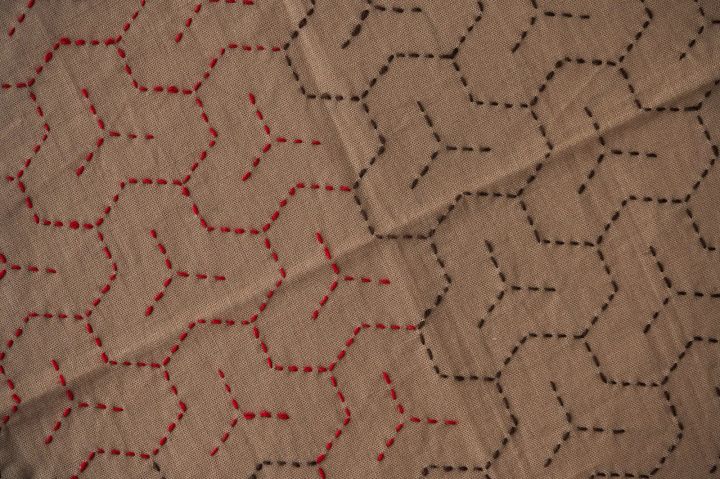
A palm thimble or sashiko thimble is the perfect accessory for sashiko stitching. If you use a palm thimble you reduce the strain on your fingers, you can stitch faster, and your stitches will be more regular.
You can mimic the look of sashiko without using a thimble. But if you want to do sashiko the way it has been done for hundreds of years in its country of origin, Japan, you will need a palm thimble.
Another positive effect of a palm thimble that can't be seen in the stitching, is its meditative effect. Stitching is meditative, no matter which technique you use.
But with a palm thimble, there's something distinctly calming about it. At least for me! I'd be surprised if you'd feel differently about it.
How to use a palm thimble
You can find a more detailed explanation on how to use a palm thimble here.
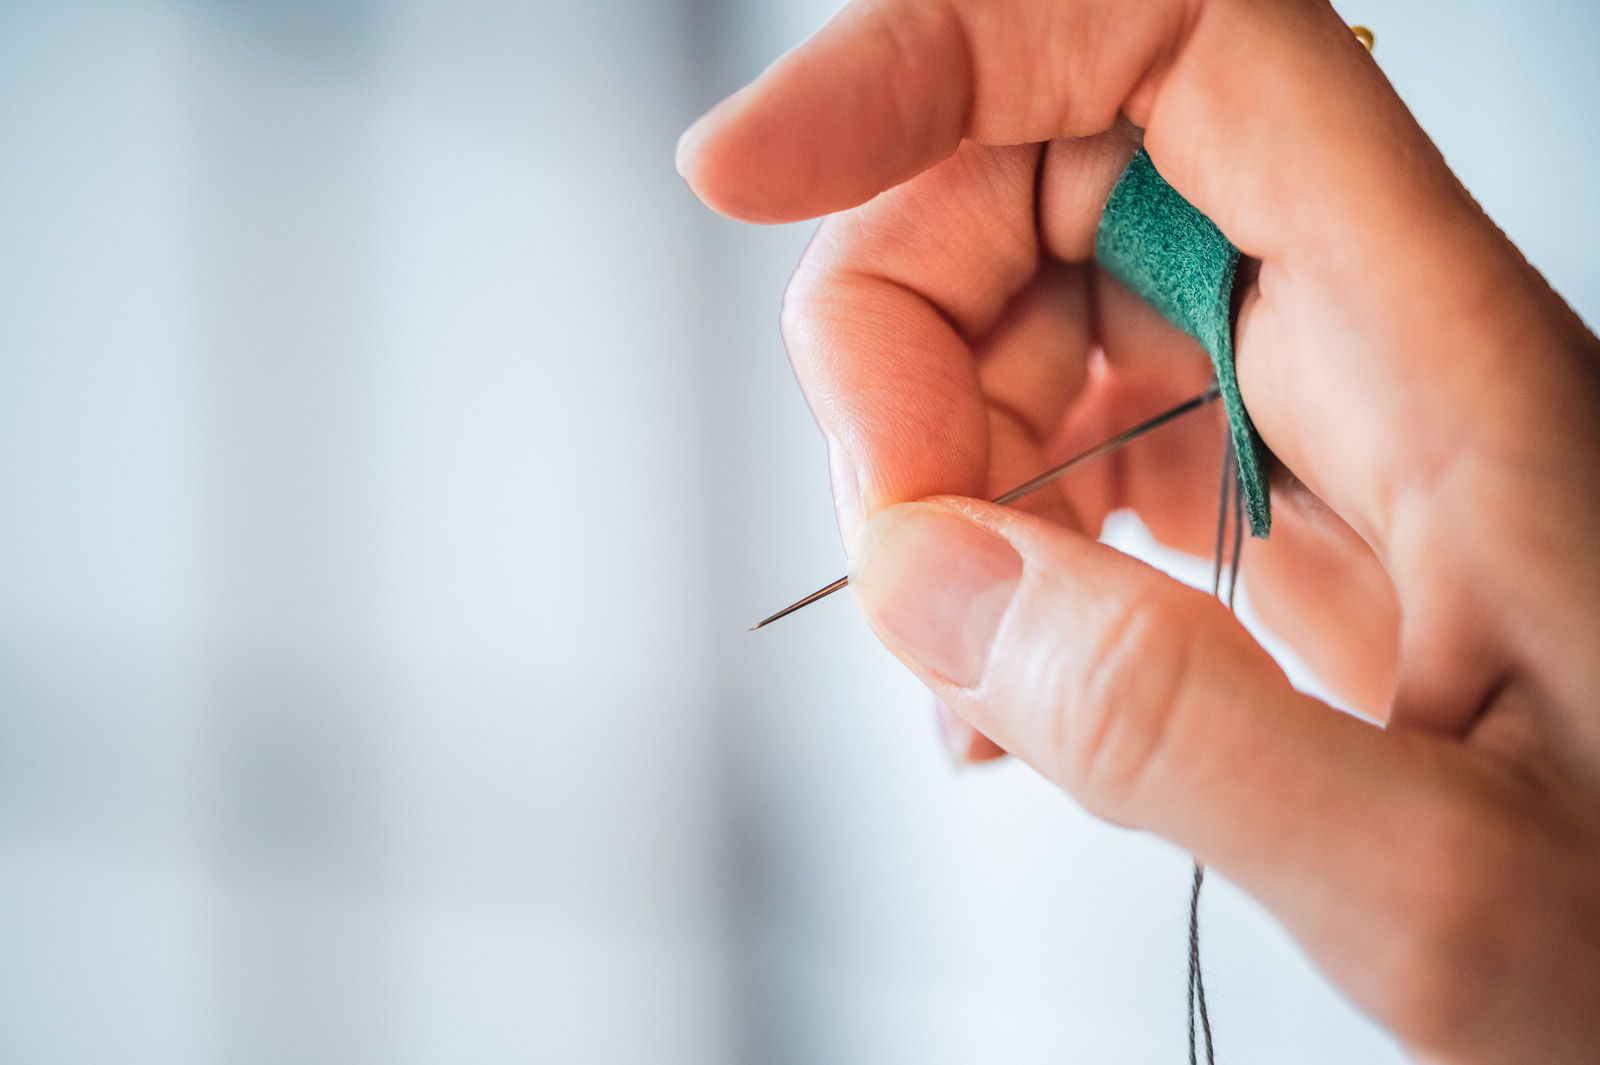
While stitching, the needle's butt is rested against the thimble to provide stability.
Your thumb rests on the needle where it is comfortable for you.
Your index finger is either on the wrong side of the fabric and holds the needle from underneath or it holds the needle on the opposite side of your thumb but nearer toward the butt of your needle.
You can also find sashiko thimbles with metal plates. You can find out more about those and other thimbles here.
Thanks for joining me in this DIY palm thimble project! If you make one, I'd be delighted if you could send me a photo of your thimble or just tag #stitchesontherun on your favorite sns channel.
Sign up for more interesting tutorials♪
Comments ()